In order to receive live notifications through webhooks, you must register a webhooks endpoint and enable the desired events. To create a webhooks endpoint, you must provide a publicly accessible HTTPS URL and a list of enabled events. See more about this here.
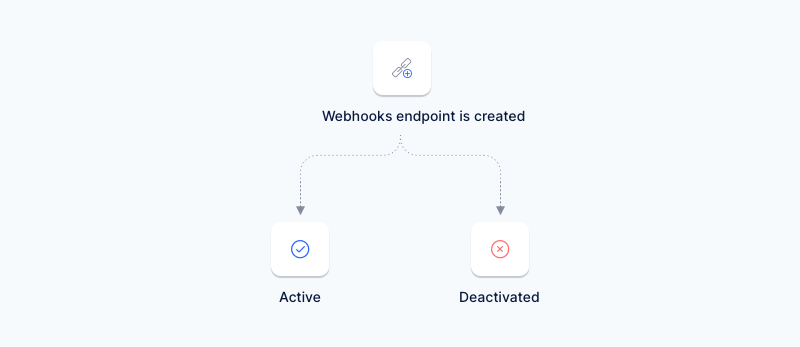
The webhooks endpoint has two statuses in its lifetime; initially, it is active. When you deactivate it, the status is marked as deactivated.
The following state diagram shows the status of different webhooks endpoints:

Active
It has active status after its generation until it is deactivated.
Deactivated
When you don’t require this endpoint, you can deactivate it. When temporarily deactivated, this webhooks endpoint will stop receiving notifications until it is reactivated.
You can subscribe multiple endpoints to different events of your choice. Speed also lets you add the same webhooks endpoint URL multiple times. You can update, delete, or deactivate existing webhooks endpoints in the Speed web application. Alternatively, you can manage webhooks endpoints programmatically. See the list below:
- Register a webhooks endpoint →
POST→ /webhooks - Retrieve a webhooks endpoint →
GET→ /webhooks - List all webhooks →
GET→ /webhooks - Deactivate a webhooks endpoint →
POST→ /webhooks/{id}/disable - Activate a webhooks endpoint →
POST→ /webhooks/{id}/enable
Deactivation logic
Speed will send an email to you if an endpoint has not responded with a 2XX HTTPS status code for multiple days in a row. The email will state that the endpoint will be automatically deactivated soon. Speed does not retry any notifications that are generated while the endpoint is deactivated. You also have the option to manually deactivate a webhooks endpoint temporarily.
Speed users should be able to activate an endpoint (marked as deactivated earlier) manually.